Sprinter Van Tire Size: A Complete Guide
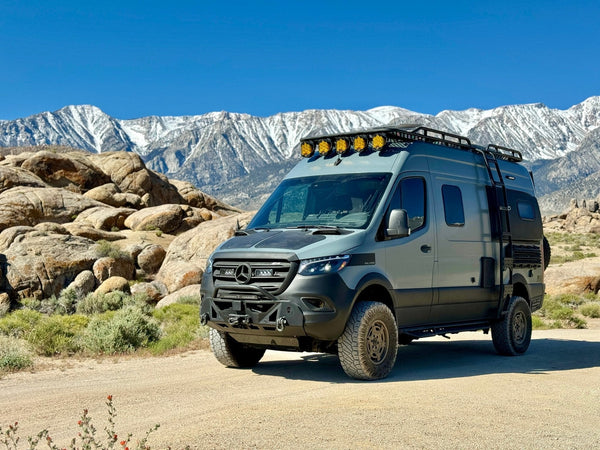
Adding new tires to your Sprinter is one of the most effective ways of turning it into a true adventure vehicle. Many Sprinter owners want to invest in larger tires to give their vans a more rugged appearance, but it’s tough to know what tire size is compatible.
To eliminate confusion, we’ve put together a comprehensive guide on Sprinter van tire size to help you narrow down your wheel and tire upgrade. We take into account wheel size, lift kit options, and fender trimming. With this information, you'll have no problem deciding on the perfect setup for your rig.
Maximum Tire Size for Sprinter Van VS30 (2019+)
Van Type
2” Lift? (Y/N)
Fender Trim? (Y/N)
Max Width (mm)
Max Aspect Ratio
Max Wheel Size (In.)
Requires
2WD
N
N
245
75
16
Y
N
245
75
16
Y
Y
265
75
16
Mondo Mudguards
4WD
N
N
245
75
16
Y
N
265
70
17
N
Y
275
70
17
Mondo Mudguards
Y
Y
285
70
17
Owl Wheel Spacer, Mondo Mudguards
Y
Y
285
75
17
Owl Wheel Spacer, Mondo Mudguards
Y
Y
315
70
17
Owl Wheel Spacer, Mondo Mudguards
Dually
N
N
235
85
16
Maximum Tire Size for Sprinter Vans NCV3 (2007-2018)
Van Type
2” Lift? (Y/N)
Fender Trim? (Y/N)
Max Width (mm)
Max Aspect Ratio
Max Wheel Size (In.)
Requires
2WD
N
N
265
70
17
Y
N
275
70
17
Y
Y
285
75
17
Owl Wheel Spacer, Mondo Mudguards
4WD
N
N
275
70
17
Y
N
285
70
17
Owl Wheel Spacer
N
Y
255
80
16
Mondo Mudguards
N
Y
285
75
17
Owl Wheel Spacer, Mondo Mudguards
Y
Y
285
75
17
Owl Wheel Spacer
Y
Y
315
70
17
Owl Wheel Spacer, Mondo Mudguards
Dually
N
N
235
85
16
How to Read Tire Size
If you’re thinking about upgrading your Sprinter’s tires, understanding all of the numbers and letters that make up a tire’s size can be confusing. In general, you only have to pay attention to three main values: the tire width, the aspect ratio, and the wheel diameter.
Tire Width
Tire width is the first number in the tire’s size. It’s expressed in millimeters, and it measures the width of the tire if you look at it from the front or rear (basically the width of the tread).
275/70R-17
Aspect Ratio
The aspect ratio is the second number (after the slash and before R or D). It’s the measurement of the outer edge of the tire to the outer edge of the rim.
275/70R-17
Wheel Diameter
Wheel diameter is the last number in the line. It’s the size of the wheel or rim that the tire is meant to be mounted to. For example, stock Sprinters have 16” rims.
275/70R-17
Other Values
There are a few other qualitative values that are a part of tire size. Sometimes, tire size begins with a letter. This is the tire type. For instance, P means passenger vehicle and LT means light truck.
Tire construction comes after aspect ratio, normally expressed as either R or D. R stands for radial and D stands for diagonal.
Other numbers include the load index, which indicates how much payload each tire can support and the speed index, which indicates how fast a tire can safely go.
What’s the Maximum Tire Size For a Sprinter Van?
Off the lot, Sprinter vans have embarrassingly small tires. They might work okay for highway driving and delivery, but they’re terrible for adventures and off-road travel. Most adventure van owners quickly decide to purchase larger tires.
A common question we get at Owl is, “What is the largest tire size I can have on my Sprinter van?” With safe modifications, the maximum tire size you can obtain is 315/70-17. Larger sizes can be possible, but they will require extensive modification. These modifications can compromise the integrity of your vehicle and may not be road-legal.
Factors Influencing Sprinter Van Tire Size
Wheel Size
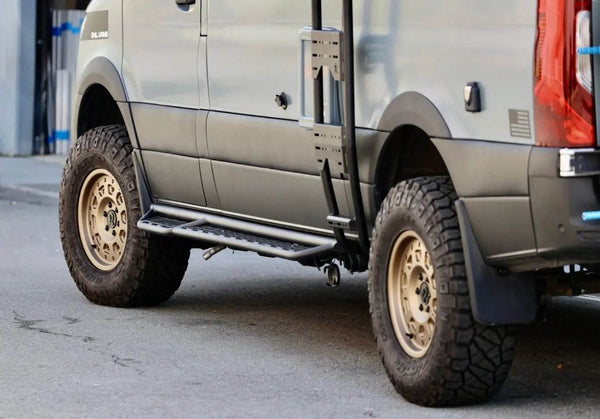
Most Sprinter tire size upgrades will require bigger wheels. 17” is the go-to because they’re compatible with a range of different tire widths, such as 245, 265, 275, 285, and even 315. Having larger tires and a larger wheel can add a little bit of lift to your van. They also add a great deal of visual appeal to adventure vans, making them look more aggressive and capable.
Lifts
Lifting your van is the best way to make room for larger tires. This can be done with a lift kit like the Arrow Lifted or the Arrow Lifted Pro. Both kits will add 2” of clearance to your van, allowing you to install bigger tires.
Sprinter Van Lift Kit Tire Size Compatibility: A van with a 2” lift, 17” tires, and no other modifications is compatible with 265/70-17 tires.
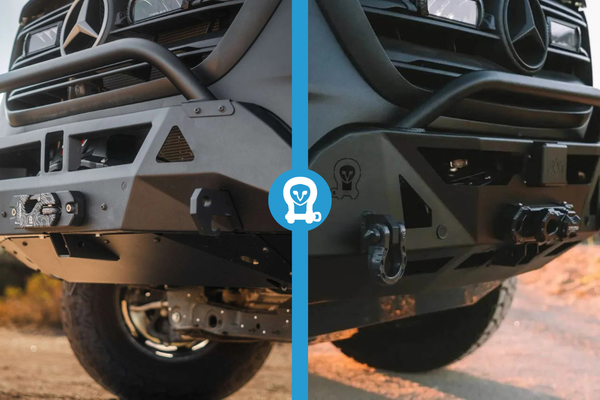
Fender Trimming
To get the maximum tire size possible, you’ll need to do more than just upgrade the wheel size and install a lift kit. Fender trimming and Mondo Mudguards are required for many larger tire sizes so that there’s enough clearance in the wheel well. Without this trimming, the wheels will rub against the wheel well.
A van with 17” tires, a 2” lift, and trimmed fenders is compatible with 285/70-17, 285/75-17, and 315/70-17 tires. Wheel spacers will also be required.
Wheel Spacers
Wheel spacers mount between the wheel and the hub. They push the tire and wheel outward to provide more clearance away from suspension components. Larger, wider tires require this modification so that contact between the tire and the suspension doesn’t happen while turning.
Owl’s Recommended Wheels and Tires for Sprinters Vans
At Owl, we’ve spent a significant amount of time designing the perfect wheel upgrades for Sprinters. We stock a variety of 17” rims that can support the entire range of tire sizes discussed in this guide. Options include:
Talon Wheels: Owl’s Talon wheels are the classic, most popular choice for Sprinters. They offer a durable look and have an industry-leading load rating of 4,200 lbs.
Sixty Wheels: The Sixty Wheels give a timeless appearance to the van. They resemble OG “steelie” rims — perfect for a capable, off-road-ready style.
Mojo Wheels: Mojo Wheels are as resilient as they come, built for tough trail conditions and years of abuse. They’re one of the only 17” tires that can support a big brake kit.
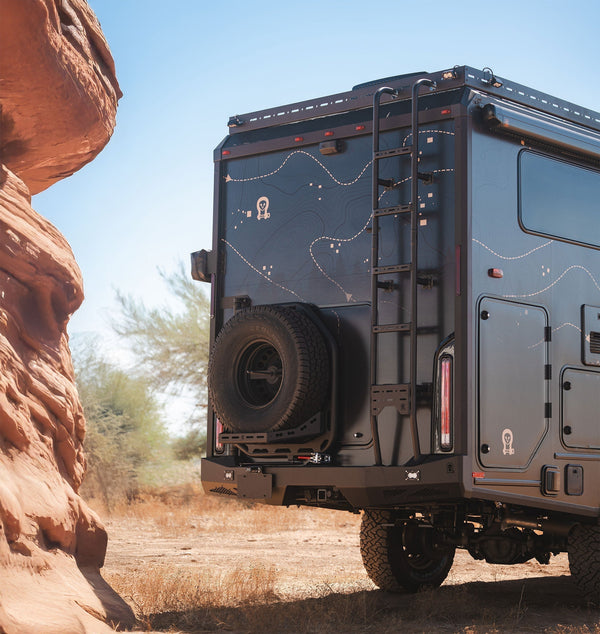
Super Singles: When it comes to off-roading, duallys are the Achilles heel of heavy vehicles. Unfortunately, these tires are often necessary to support the payload of adventure vans. Our super single wheels replace the rear two dual wheels with one large tire. This eliminates the issues of dually’s (like rocks getting stuck between the tires) without sacrificing their load capacity.
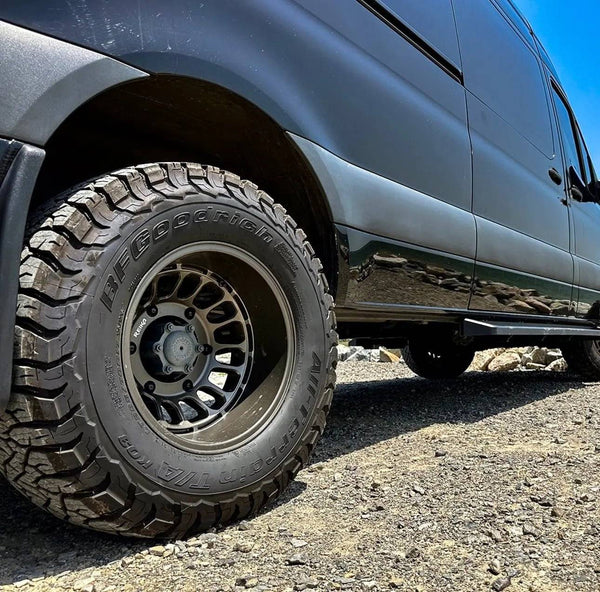
For tires, we recommend the BF Goodrich KO3s. They’re a staple of the off-road community because they’re a reliable all-terrain tire that can be confidently driven on trails and highways. We offer three sizes: 245/70-R17, 265/70-R17, and 275/70-R17.
Get the Perfect Wheel and Tire Fitment for Your Sprinter
Larger wheels and tires make your van more capable, stylish, and adventure-ready. To achieve larger tire sizes, you’ll need to have a combination of larger wheels, a lift kit, and trimmed fenders. There are a variety of tire sizes available, each with its own requirements for fitment, as outlined in the charts above.
Owl is committed to equipping adventure vans with the perfect wheels and tires for their journeys. Check out our complete product collection today and reach out to one of our technical experts with any fitment questions.
Read more