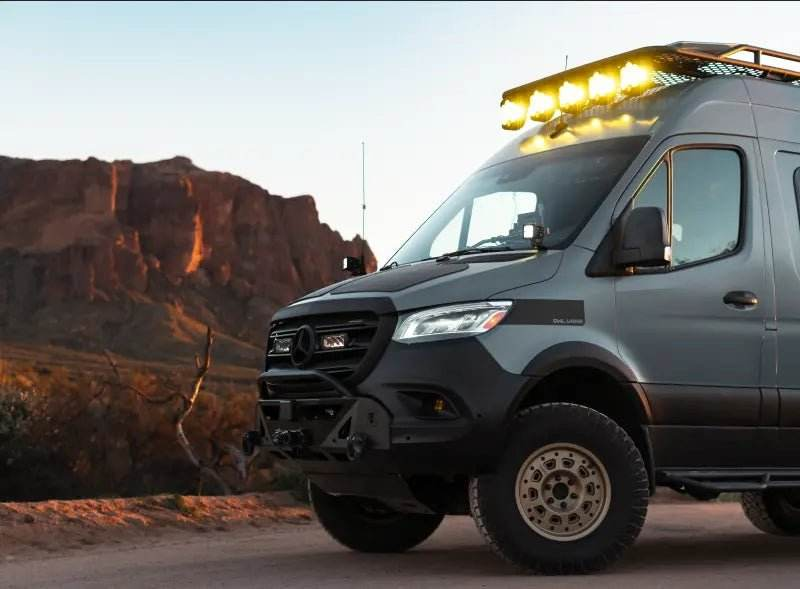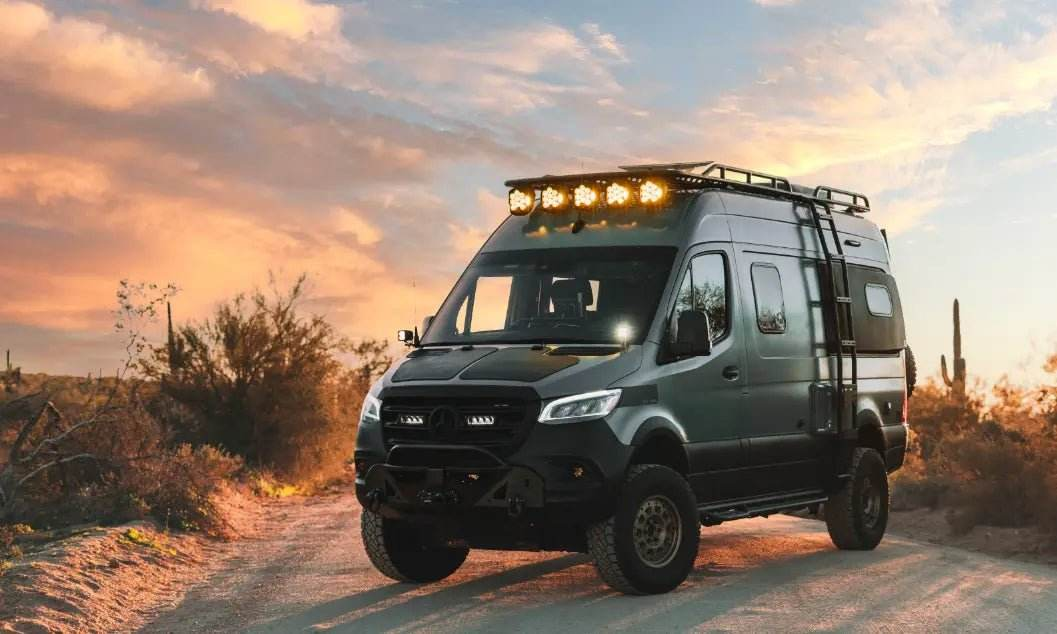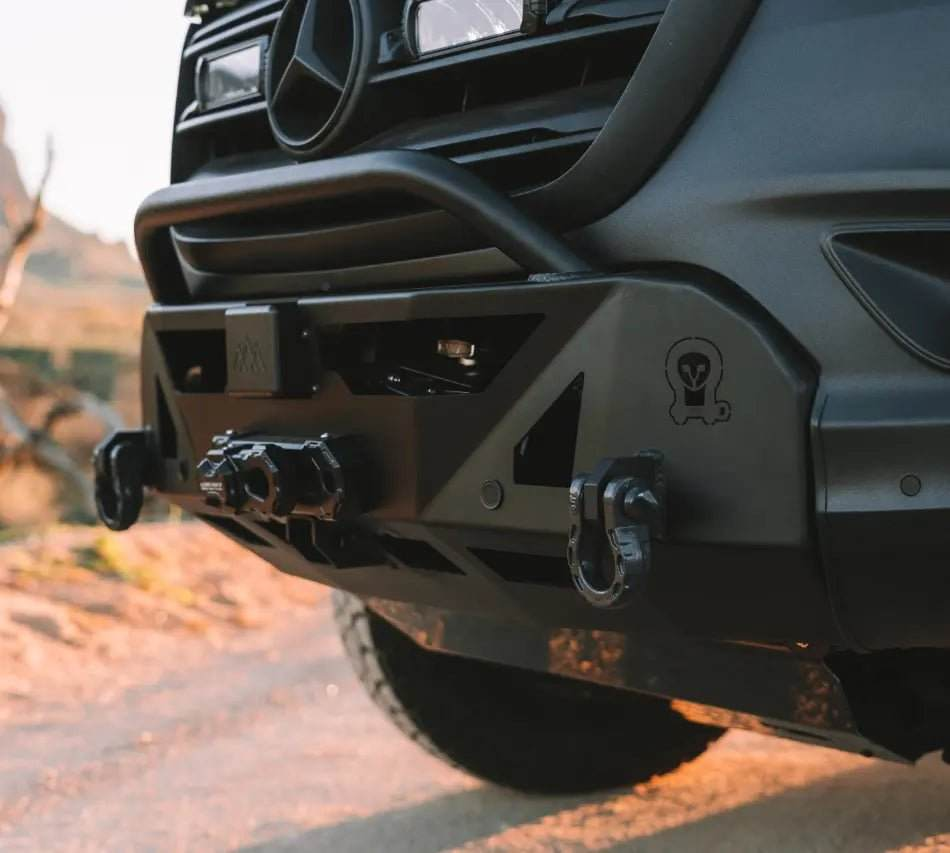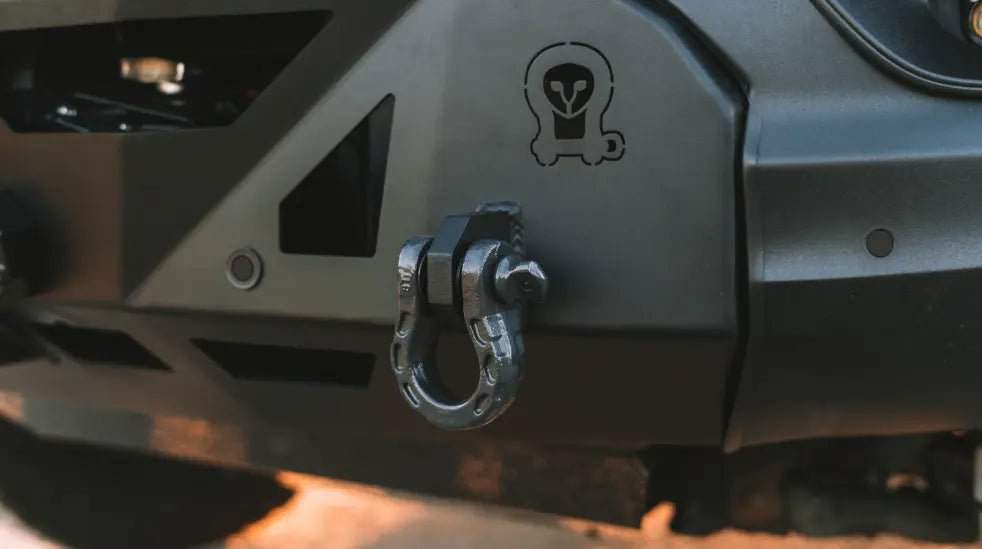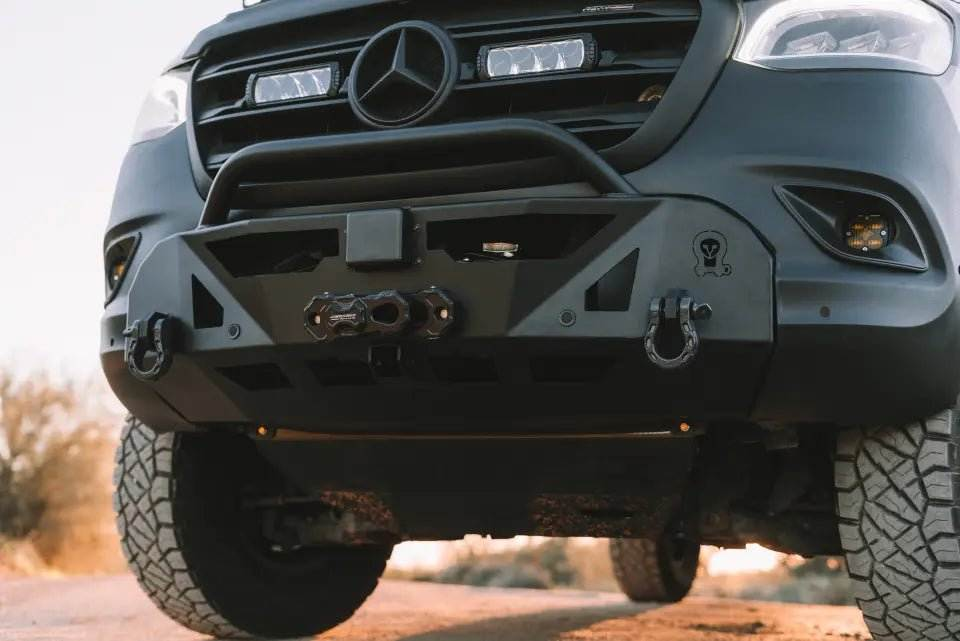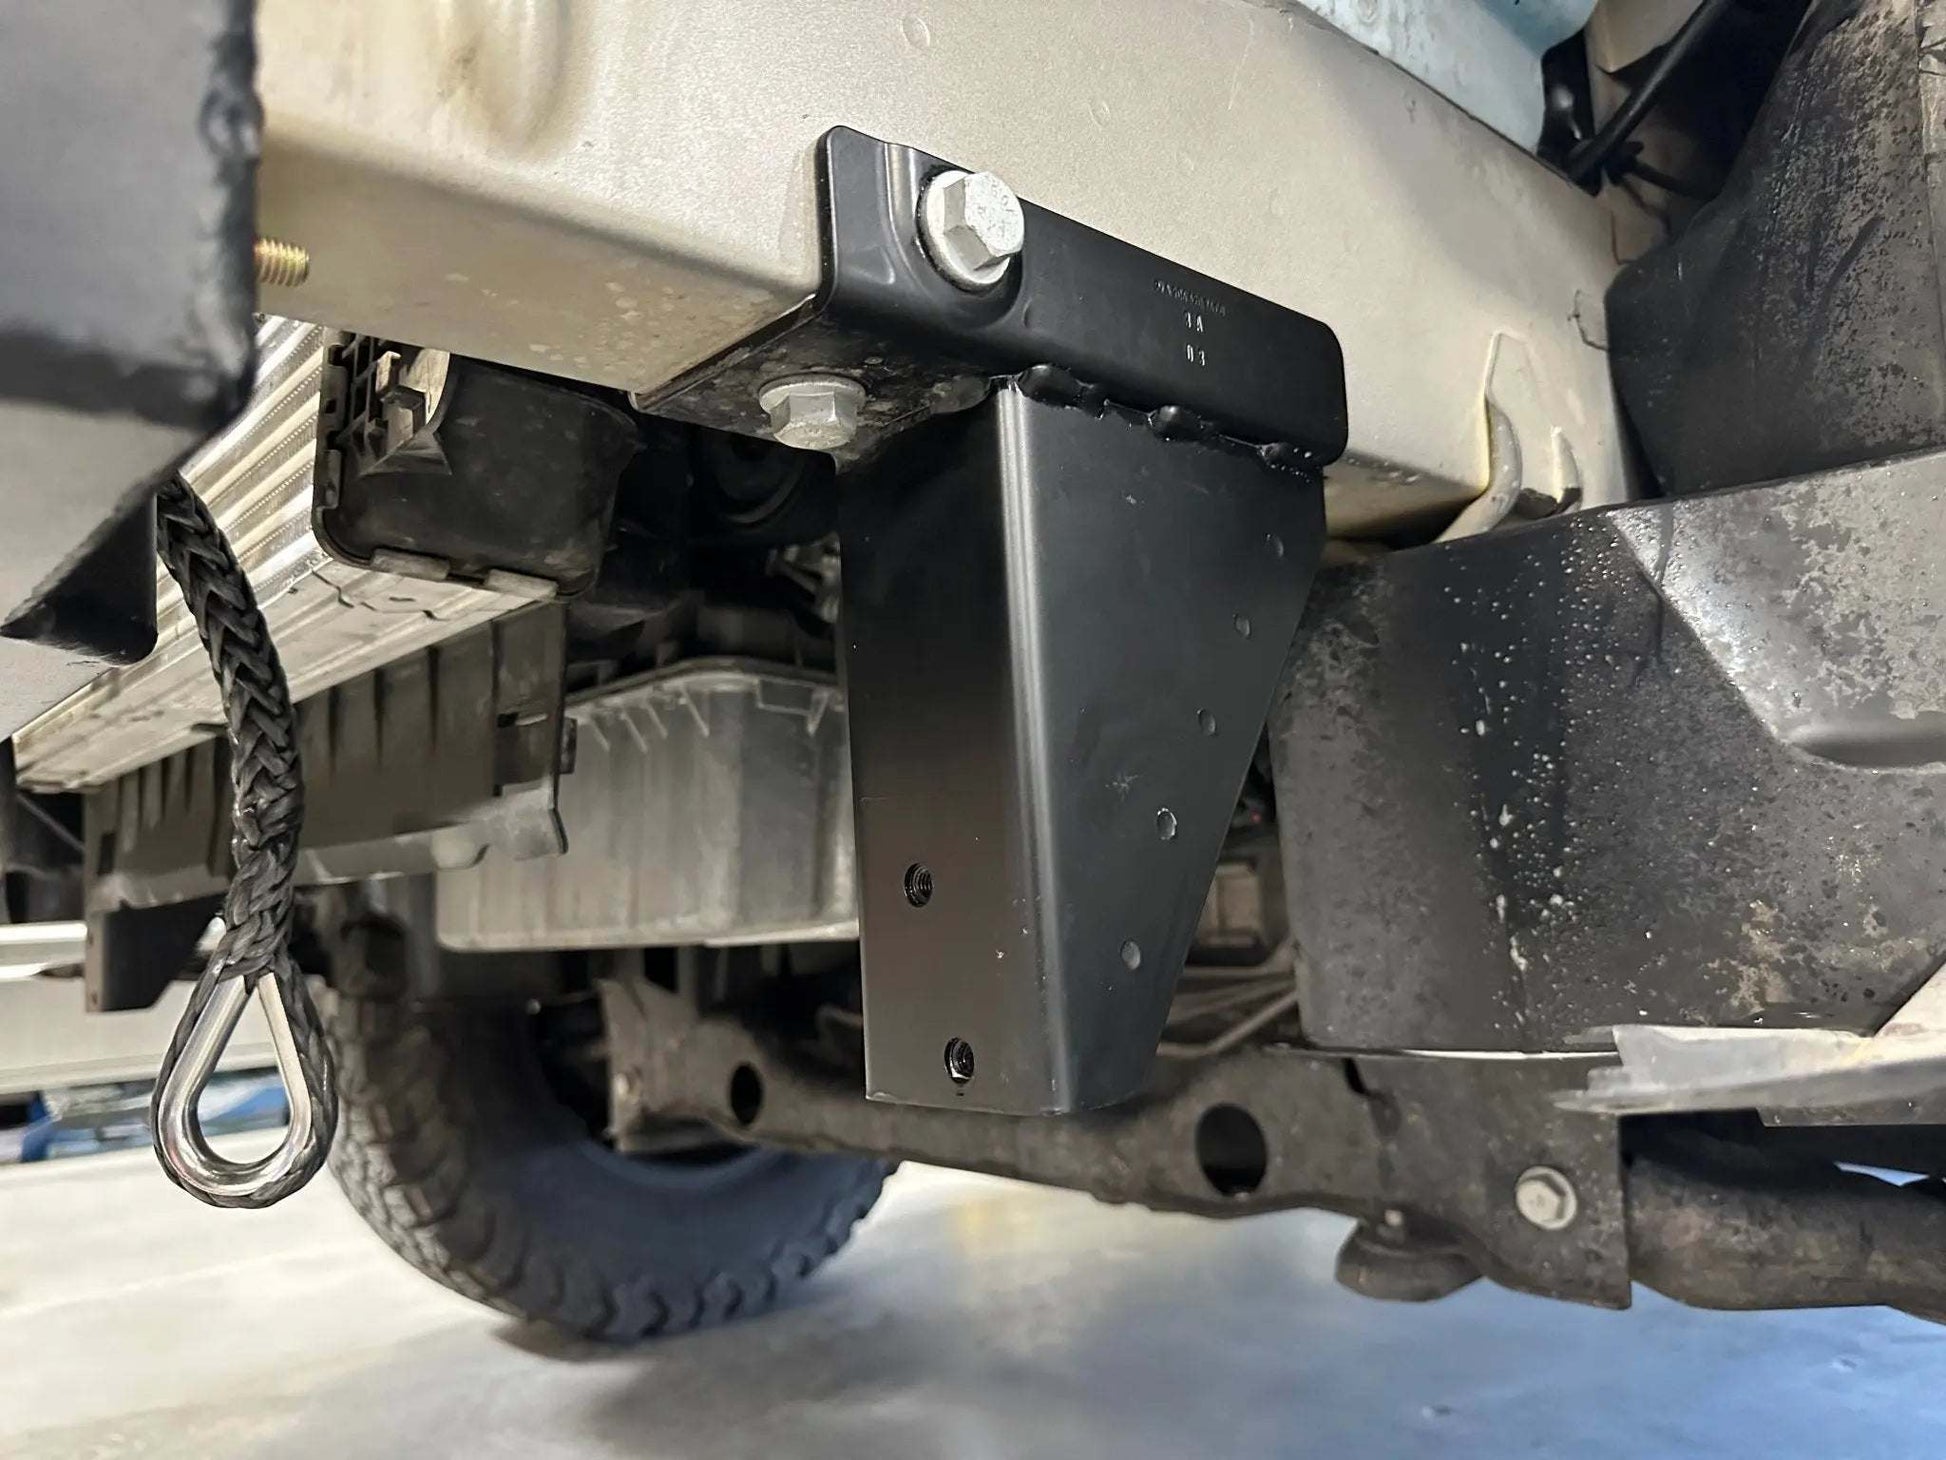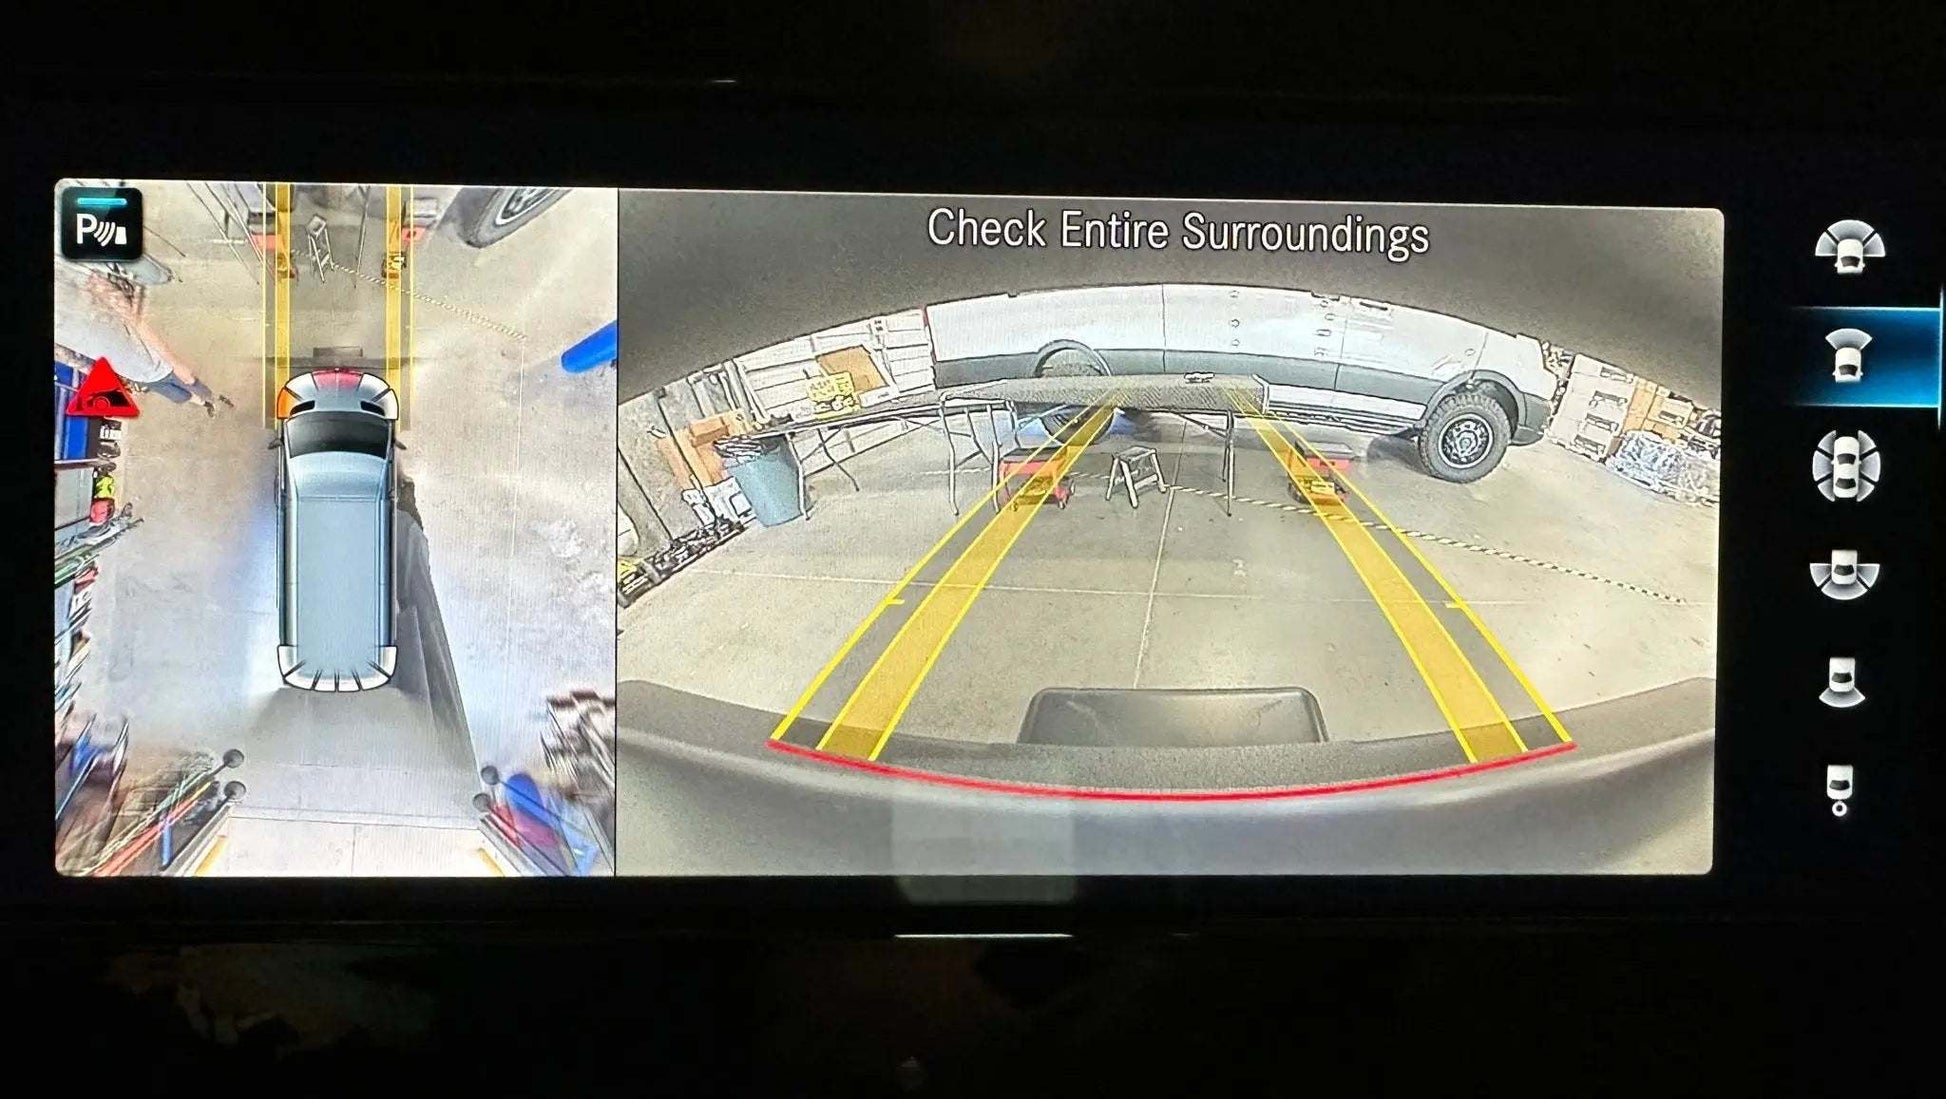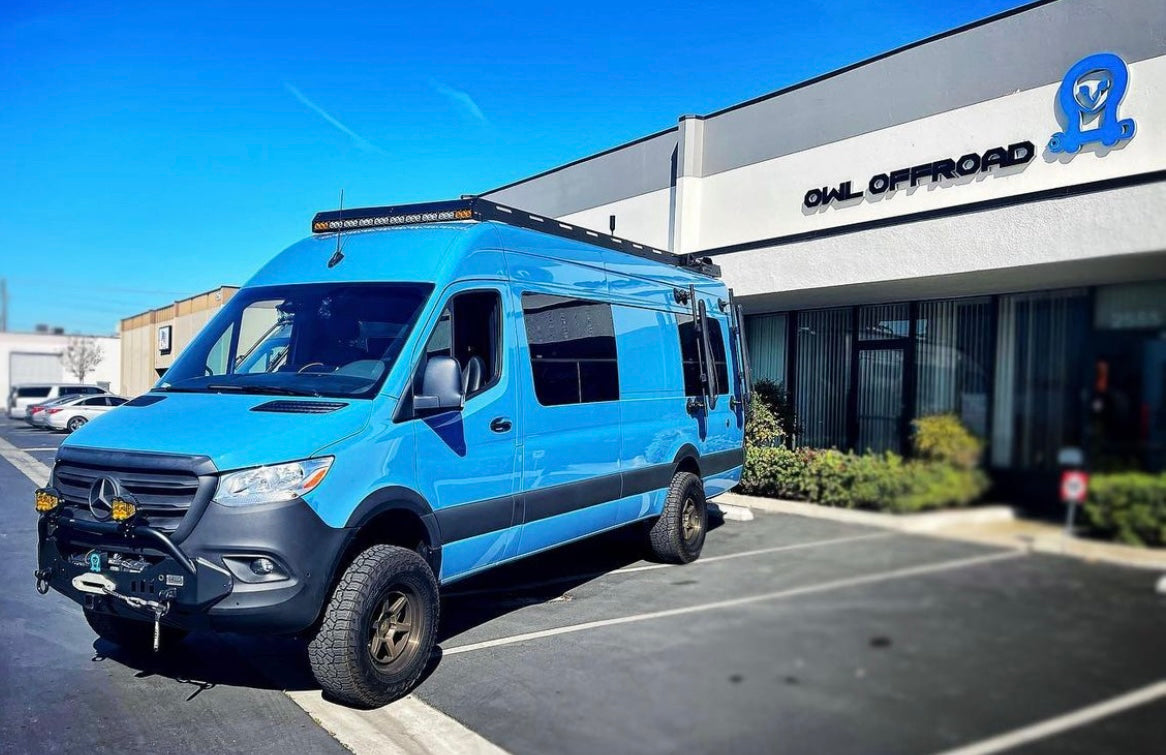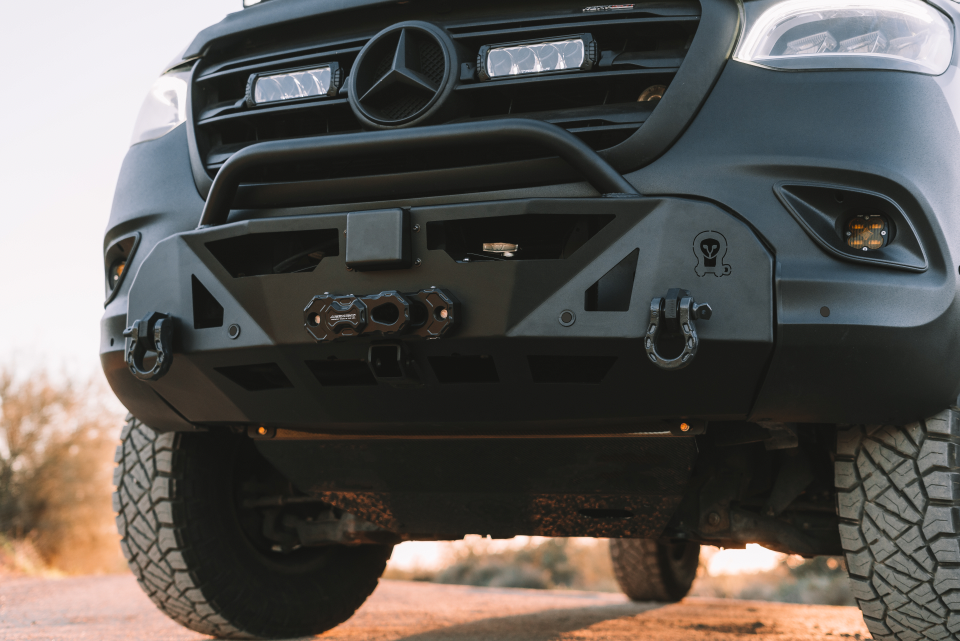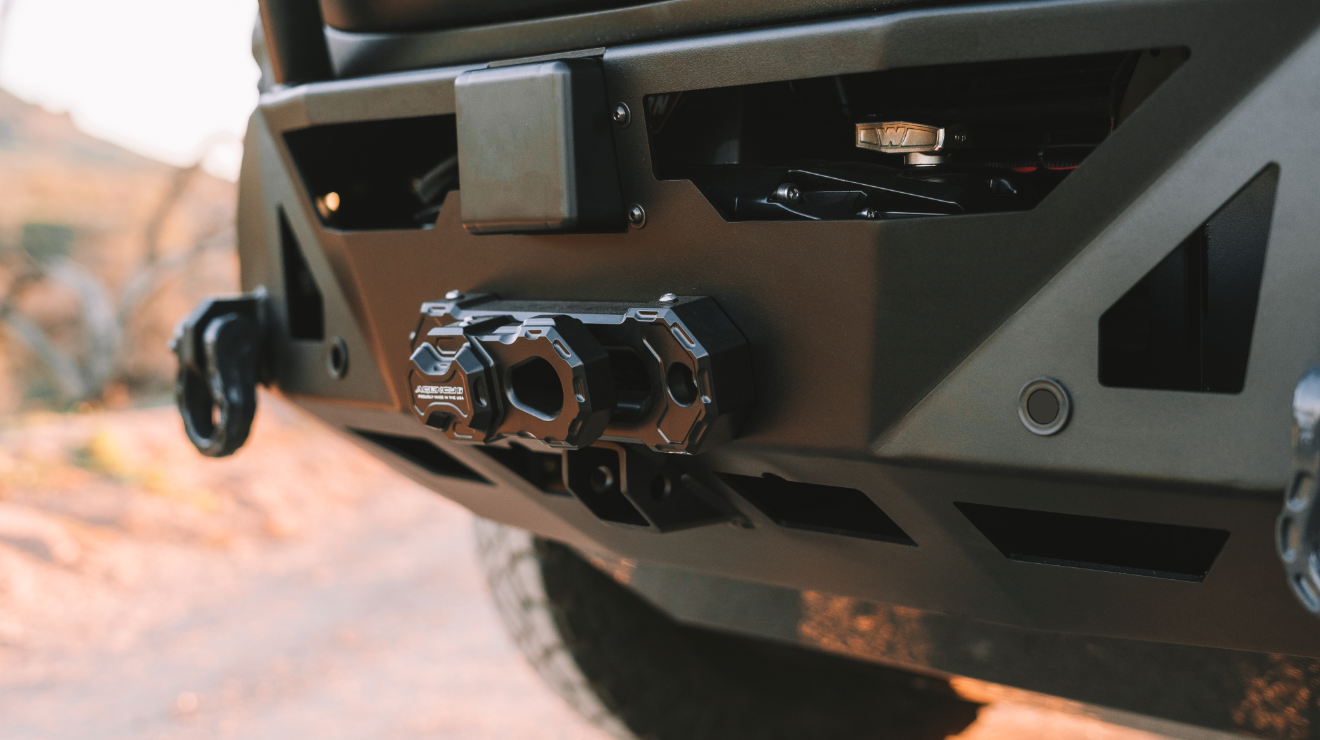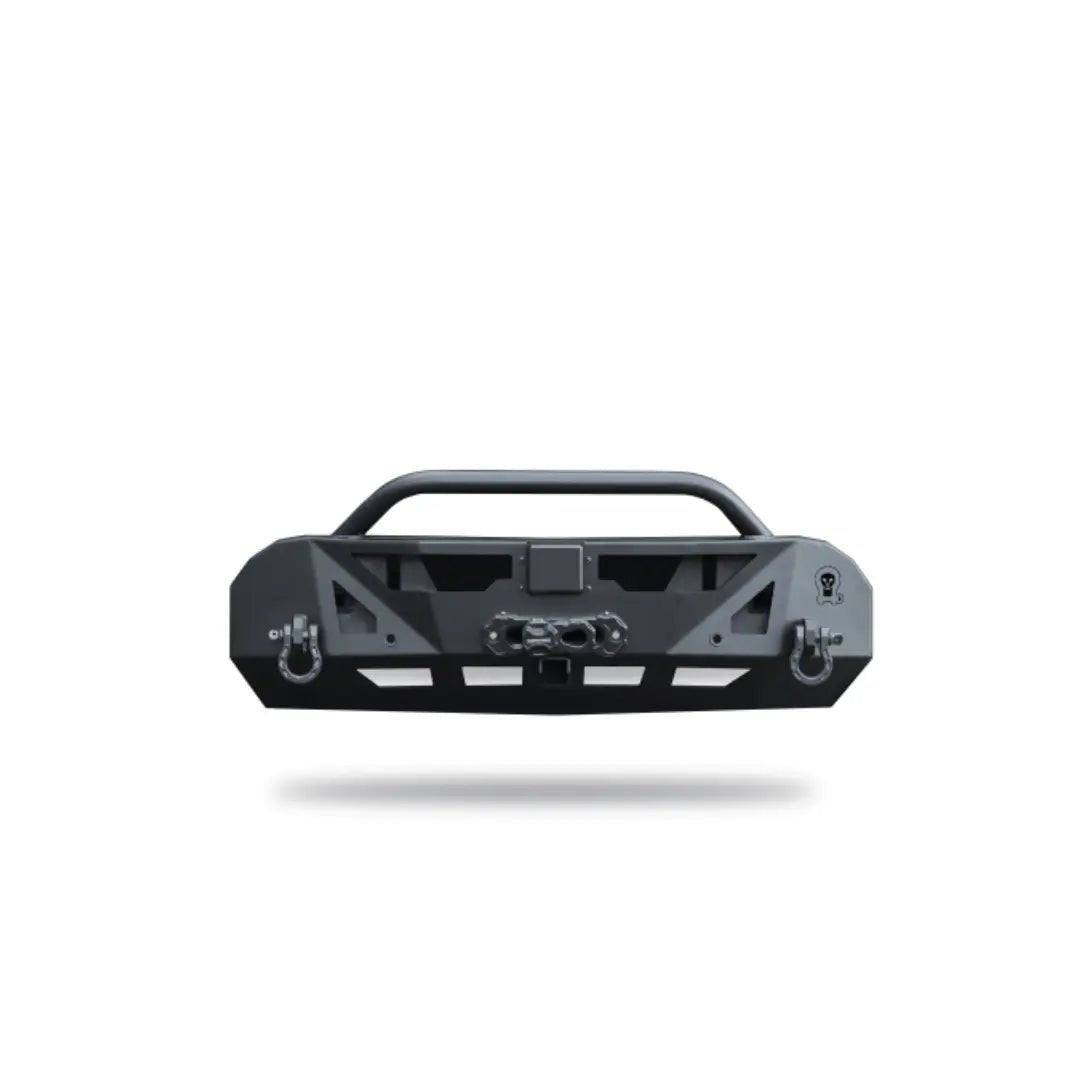
The next evolution in front-end armor, the Owl Pismo Sprinter Bumper, is engineered to provide aggressive protection, clean lines, and endless modularity, all without compromising clearance or drivability. Designed specifically for Mercedes adventure vans, the Pismo Sprinter bumper retains parking sensors and camera function while opening up mounting options for winches, lighting, and recovery points.
Built from high-strength steel and finished in a durable, trail-ready coating, the Pismo iSprinter bumper s ready for whatever lies ahead—urban, alpine, or desert. Clean enough to pass for OEM. Tough enough to take the hits. If your build deserves a smarter, better bumper, this is it.
Sprinter Bumper : Pismo
Mojab has created the smallest and lightest 13,500 lb winch on the market without sacrificing an ounce of power or durability. Designed to handle the toughest recoveries with ease.
The next evolution in front-end armor, the Owl Pismo Sprinter Bumper, is engineered to provide aggressive protection, clean lines, and endless modularity, all without compromising clearance or drivability. Designed specifically for Mercedes adventure vans, the Pismo Sprinter bumper retains parking sensors and camera function while opening up mounting options for winches, lighting, and recovery points.
Built from high-strength steel and finished in a durable, trail-ready coating, the Pismo iSprinter bumper s ready for whatever lies ahead—urban, alpine, or desert. Clean enough to pass for OEM. Tough enough to take the hits. If your build deserves a smarter, better bumper, this is it.
By providing your email you agree to receive one time notifications about stock updates. By signing up, you will receive OWL offers, promotions and other commercial messages. You are also agreeing to OWLS's Privacy Policy. You may unsubscribe at any time.
By providing your mobile number in this form, you agree to receive recurring automated promotional and personalized marketing text messages (e.g. cart reminders) from OWL at the cell number used when signing up. Consent is not a condition of any purchase. Reply HELP for help and STOP to cancel. Msg frequency varies. Msg and data rates may apply. View Terms & Privacy.

