The Right Way to Spool a Winch Line on Any Off-Road Vehicle
When you outfit your Sprinter Van or Grenadier for off-road adventure, a reliable winch is mandatory equipment. But even the most high-end winch setup is only as strong as the line you spool onto it.
In this comprehensive, no-nonsense guide, we’re breaking down everything you need to know about properly spooling a synthetic or steel winch line, drawing directly from our hands-on process with the GP Factor Grenadier: Hidden 12.5K Winch Kit. Whether you’re new to overlanding or a seasoned trail explorer, these techniques will maximize reliability and safety when the going gets tough.
Why Proper Winch Line Spooling Matters
A winch is only as reliable as the rope or cable wound around its drum. Here’s why meticulous spooling is critical:
-
Prevents Gaps: Gaps in the winch wind can allow rope to slot in under heavy load, risking irreversible “bird-nesting” and rapid degradation.
-
Maintains Strength: Properly tensioned wraps ensure the line doesn’t lose rated pulling capacity prematurely.
-
Promotes Safe Recovery: Well-laid winch lines reduce the risk of sudden failures and make subsequent recoveries far more predictable.
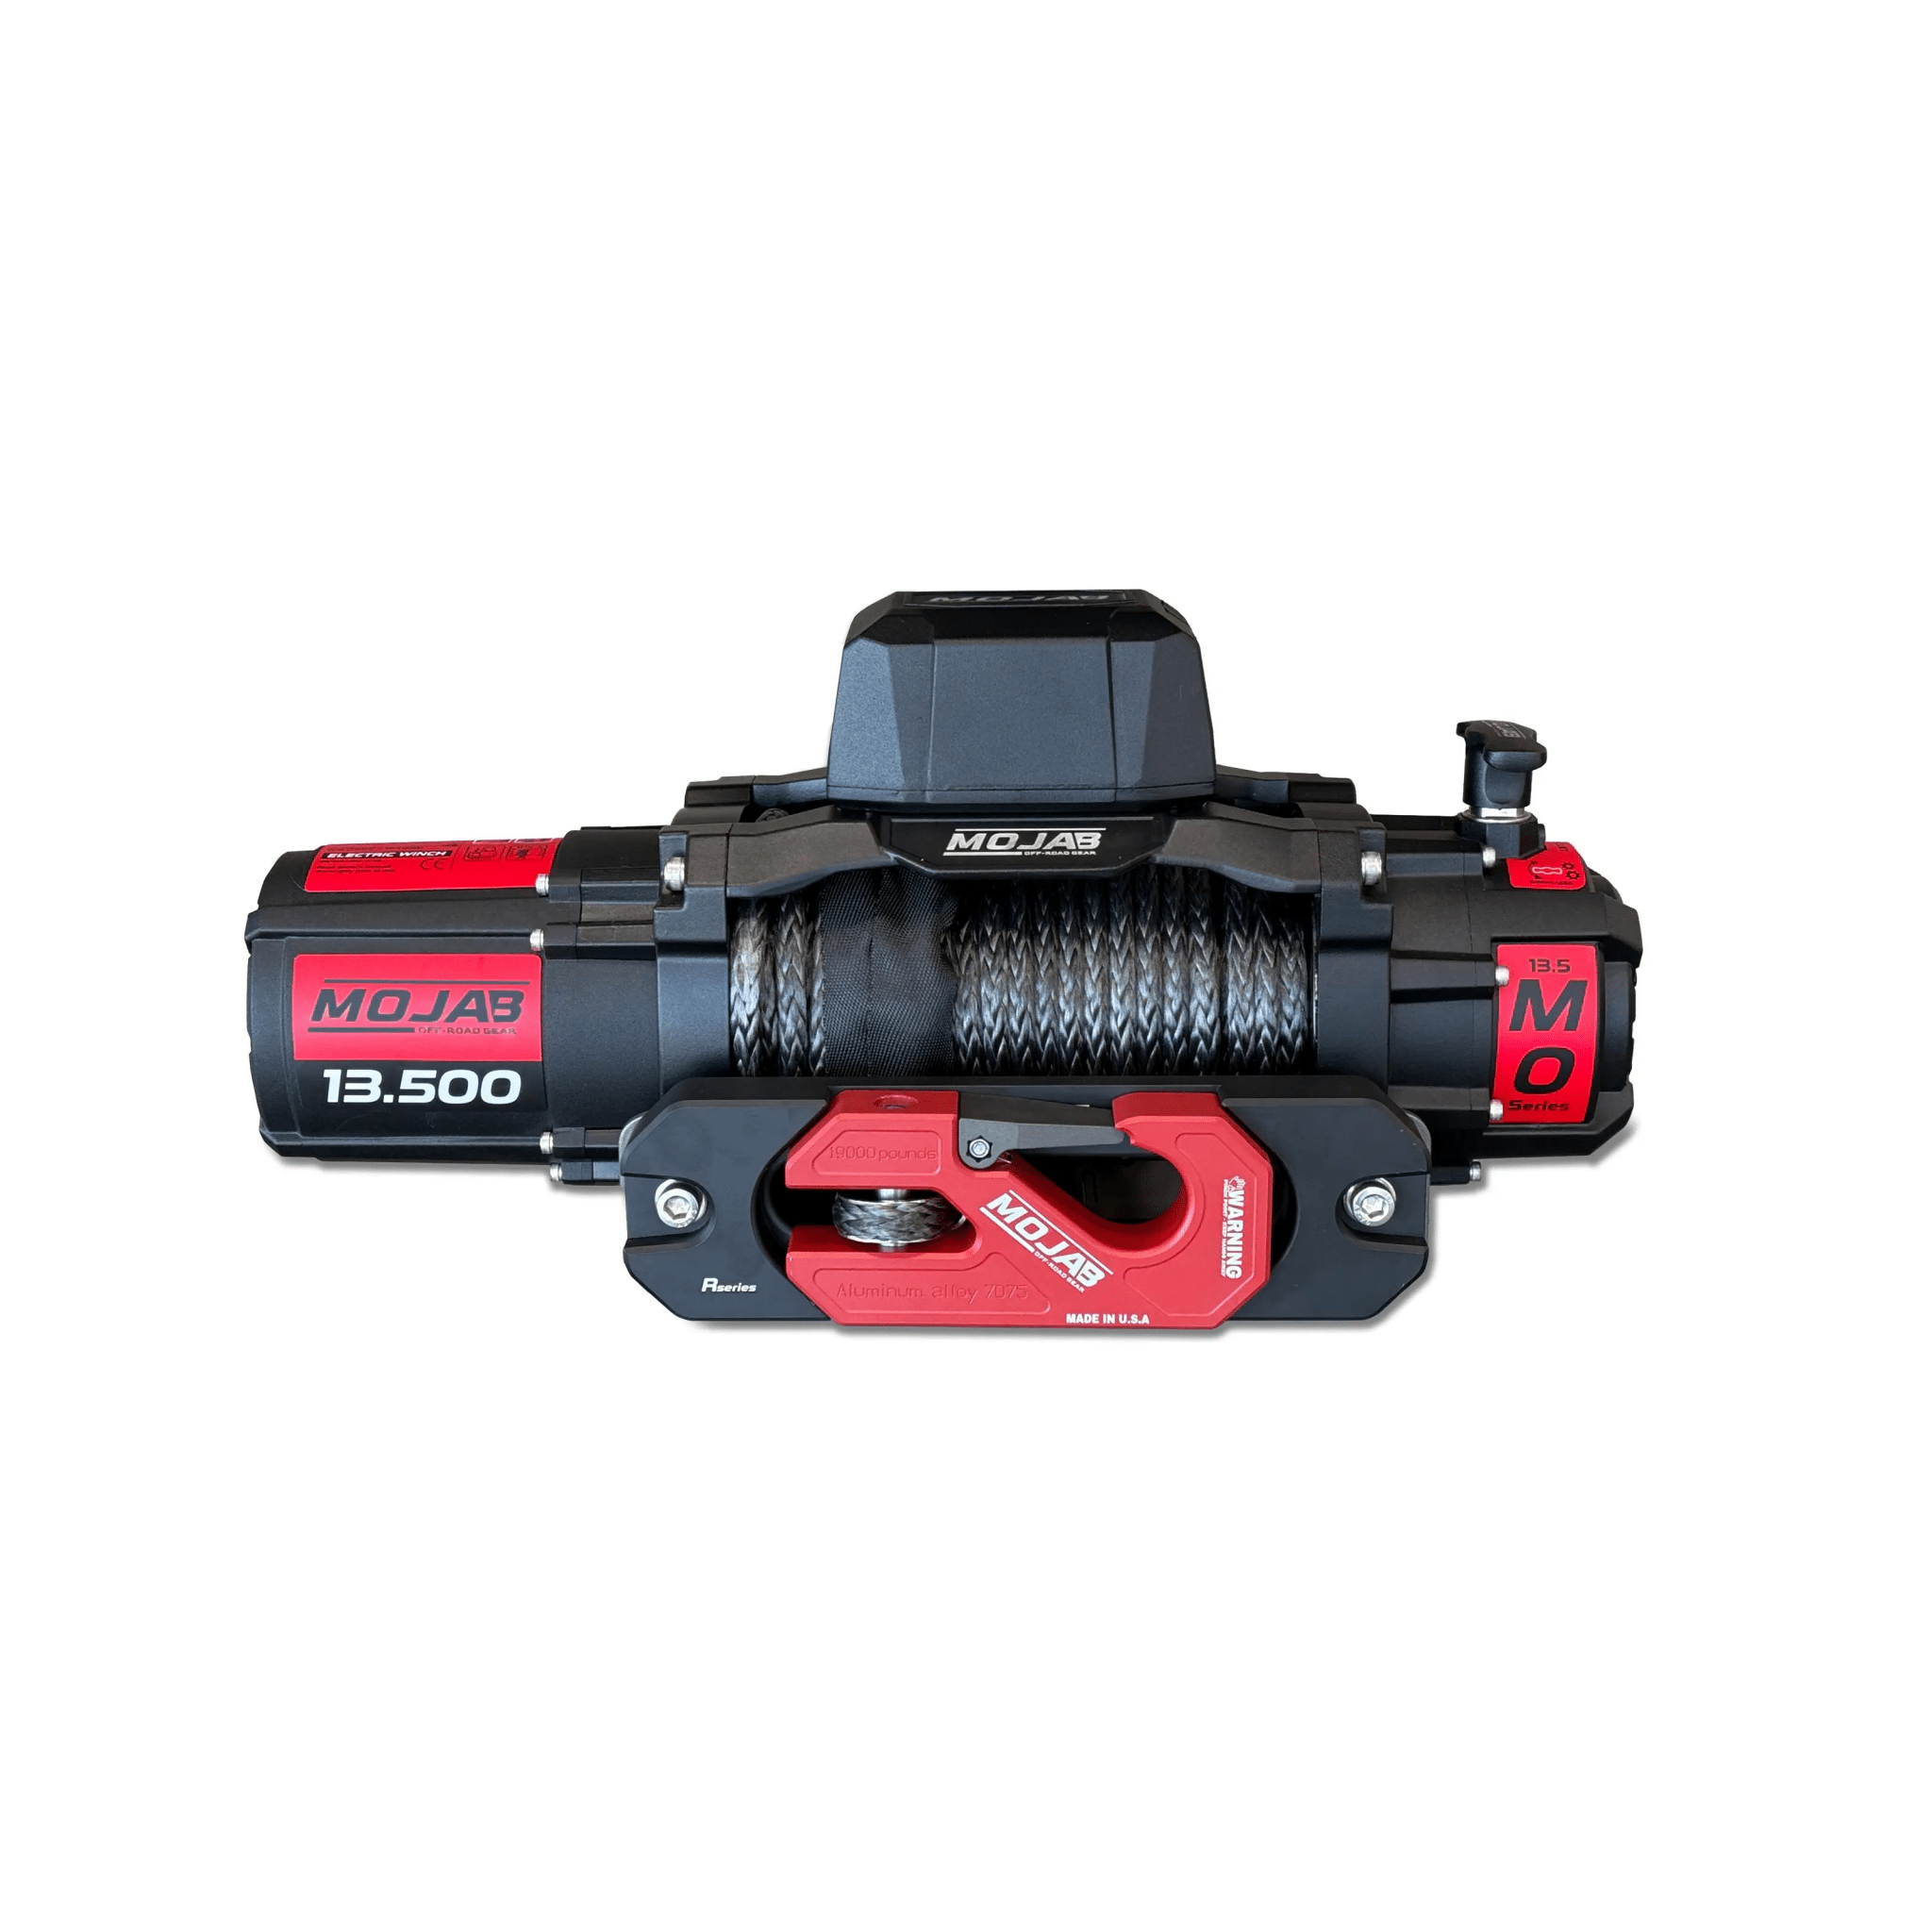
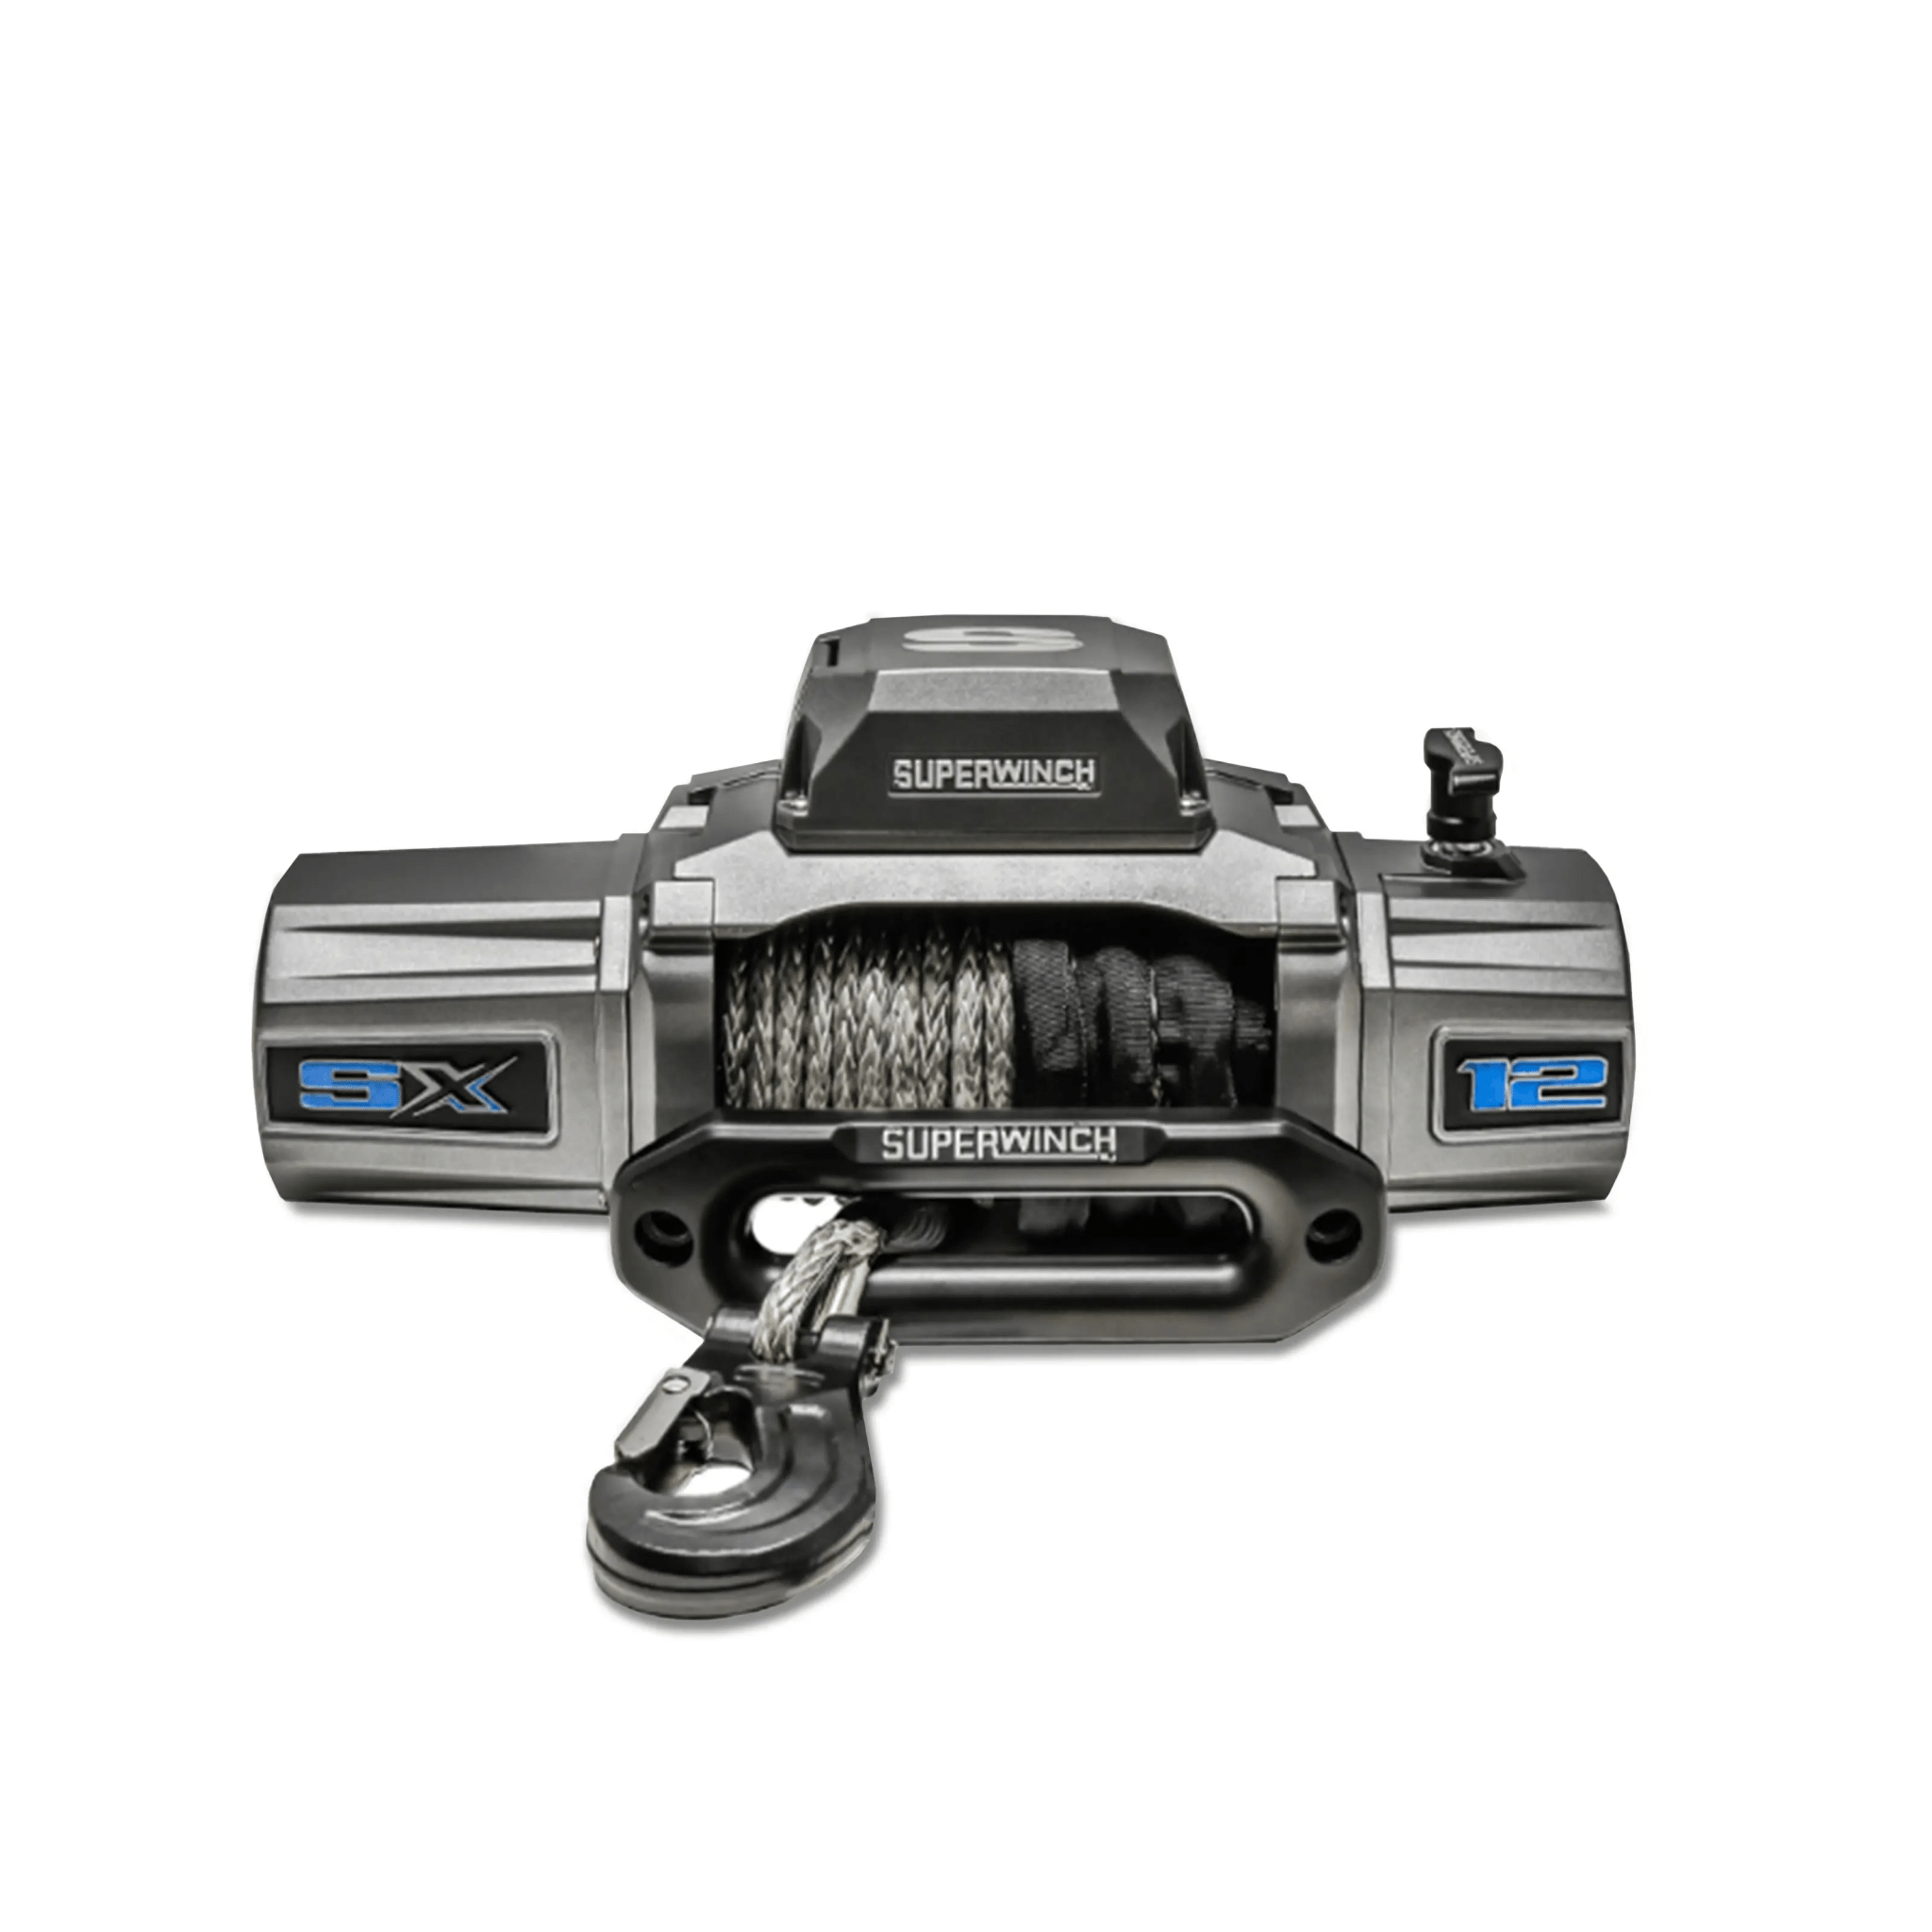
Synthetic ropes have become the preferred upgrade among off-roaders for their lighter weight and safer failure characteristics. We stock (and install) premium winches including upgraded synthetic options designed for adventure vehicles.
Step-By-Step: Spooling a New Winch Line
1. Gear-Up and Plan the Setup
You’ll Need:
-
Two people (recommended for control and safety)
-
A stationary anchor (tree, bollard, or recovery point)
-
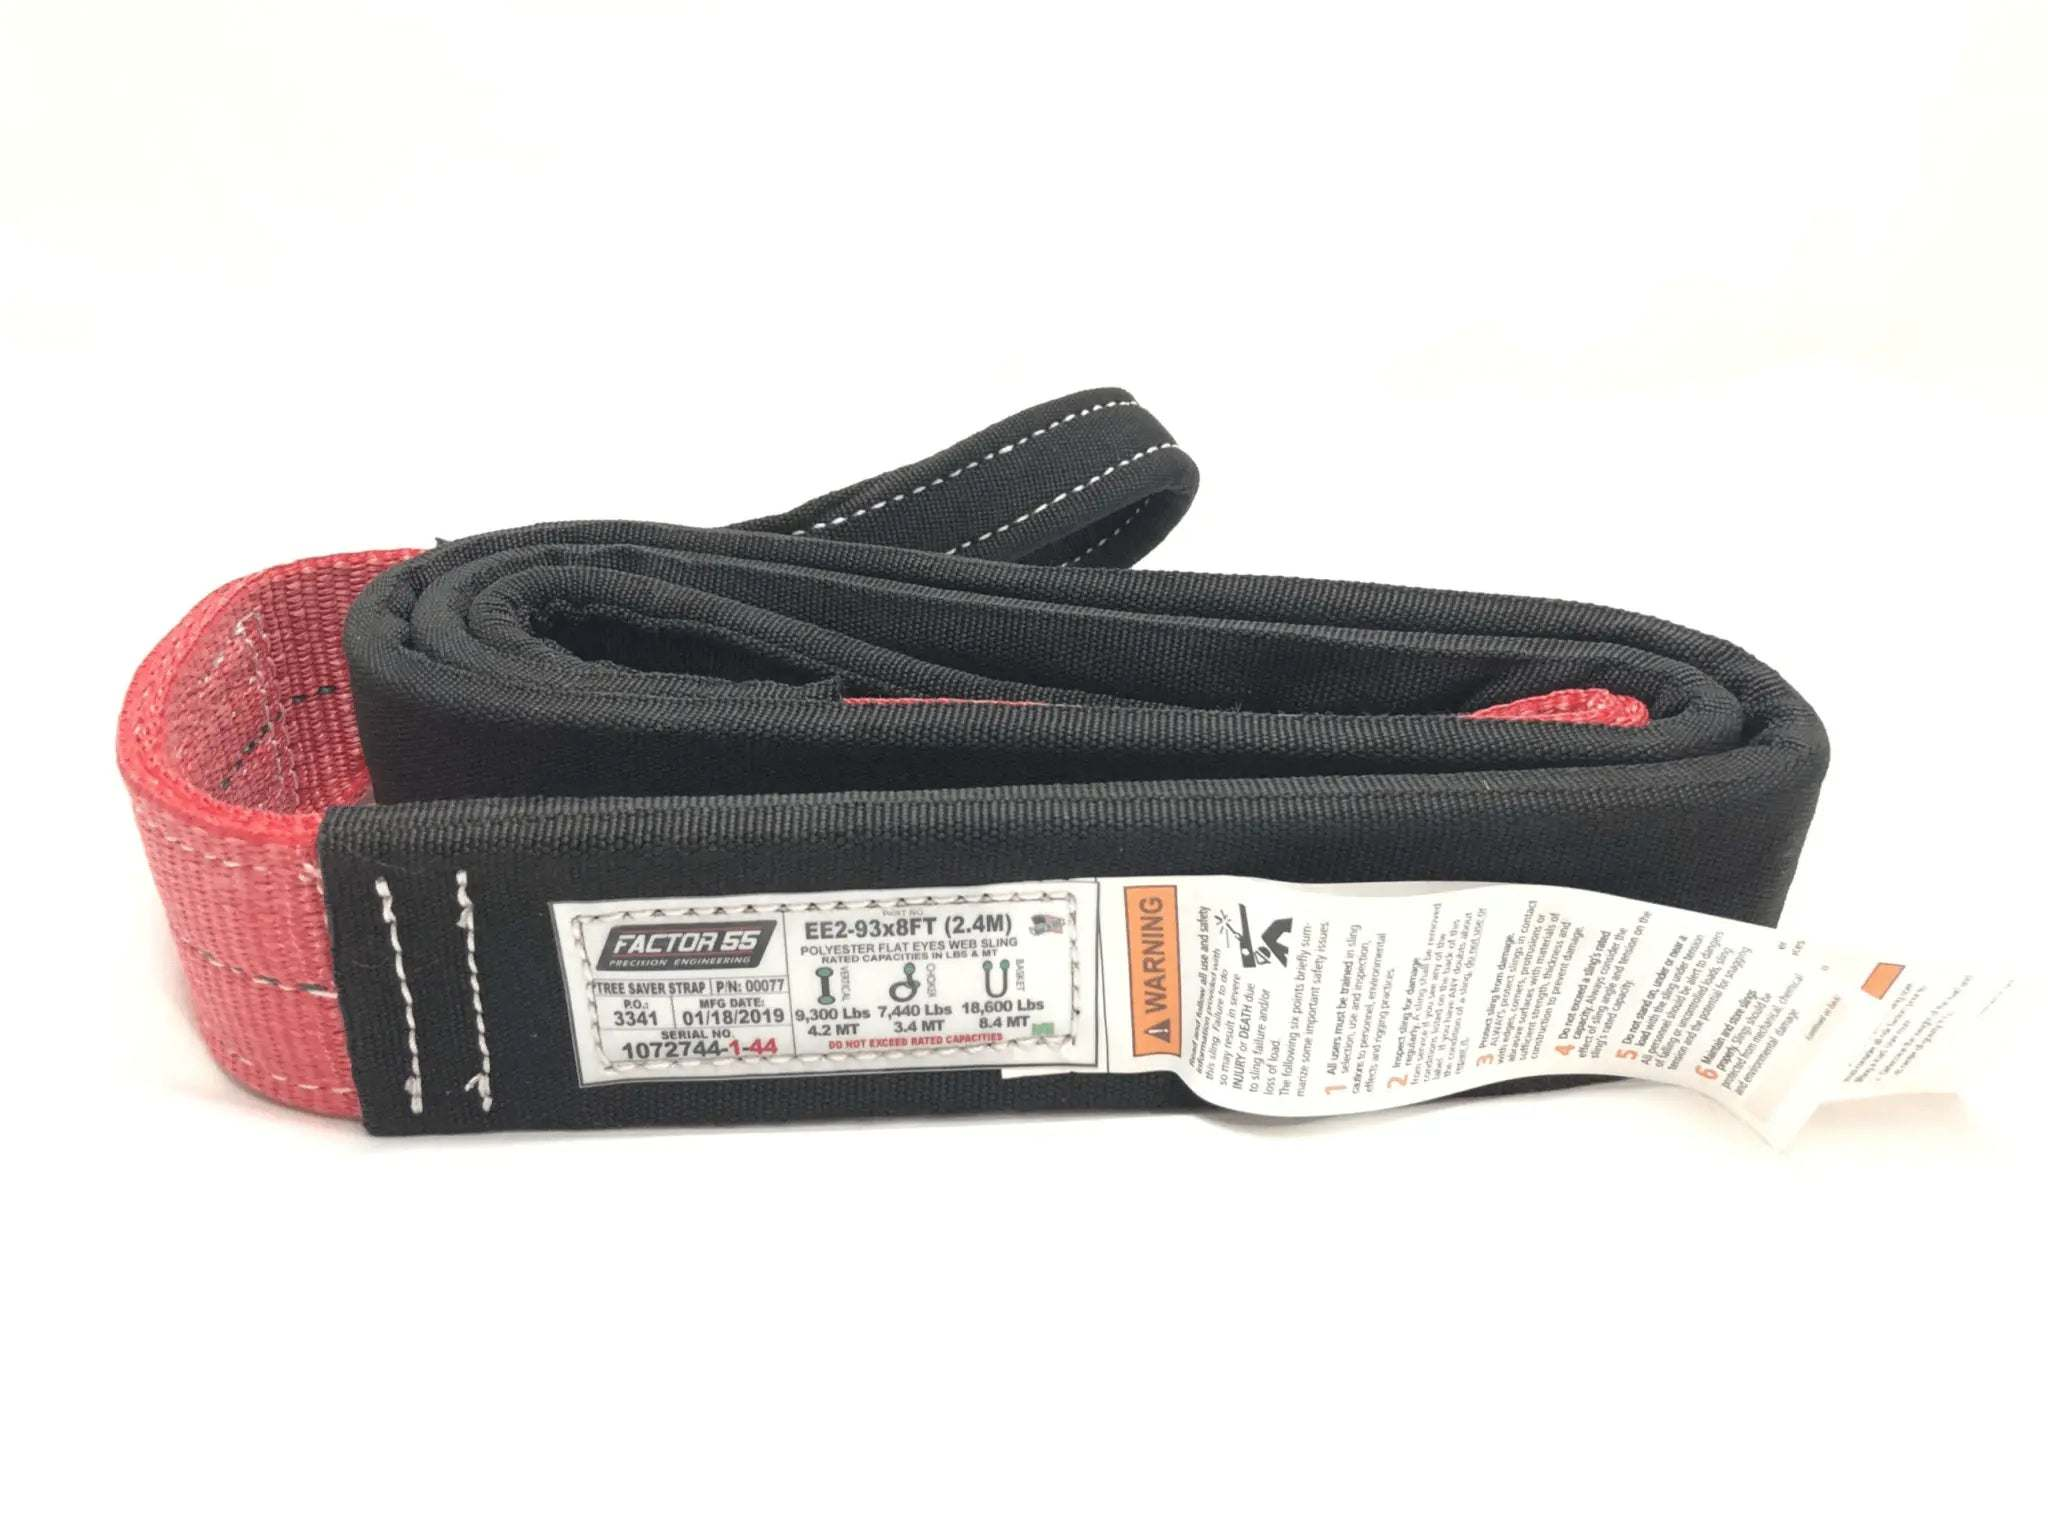
Recovery kit (tree saver, soft shackle, gloves)
-
Your vehicle with winch installed (i.e., GP Factor Hidden Winch on the Ineos Grenadier)
Pro Tip: Always wear gloves when handling winch line—whether synthetic or steel.
2. Anchor and Prep the Winch
-
Secure a tree saver strap or loop your line around a sturdy, immovable object. In our setup, we used a parking bollard for demonstration.
-
Connect your soft shackle (ideally UV-protected, like the ASR model) to the anchor. Avoid sharp corners or non-radius hooks when using soft shackles, as abrasion can cause failures.
Synthetic Rope Note: Synthetic ropes degrade rapidly under UV exposure. Invest in a winch cover and keep those last drum wraps shaded—especially if you adventure in sun-drenched environments.
3. Disengage and Pull Out the Winch Line
-
Disengage your winch’s free-spool function.
-
Walk out the entire winch line, keeping it clear from vehicle tires and obstacles. If needed, flick it over potential hazards so it remains visible and tangle-free.
-
Warning: Only leave a single safety wrap on the drum—never spool completely off the winch.
At this stage, you’ll likely notice a red safety indicator (on some ropes) as you approach the line’s end—this is your sign to stop and prep to re-spool.
4. Tensioning: The Key Step
-
Switch the winch into engaged mode.
-
Attach the winch remote, and check the vehicle is in neutral (for Grenadier) or the proper gear as required by your make.
-
One person should slowly winch in while the other gently drags the vehicle’s brakes—this adds necessary tension for a tight, gap-free spool.
-
Advanced tip: If on an incline, let gravity help maintain natural resistance.
-
-
Lay the rope side-to-side evenly on the first wrap—this is where most power is generated, so it’s essential not to leave gaps.
Safety Reminder: Never put your hands or loose clothing near the drum while winching under tension. Always stand clear of the line path.
5. Spool Back and Forth—Layer by Layer
Continue winching in the line, meticulously guiding each new layer across the drum:
-
As you build up wraps, traverse the drum evenly in both directions.
-
Maintain even tension the entire way. If you spot a gap, stop and correct by respooling as needed—synthetic line is forgiving here, letting you adjust without “bird-nesting.”
-
For the last 8–10 feet, gentle hand tension is sufficient. Synthetic lines are much less prone to kinking or sudden springback—unlike steel cable.
6. Finishing the Job
-
Release the tension, detach shackles and the anchor.
-
Reinstall winch covers and stow the remote. If using a wireless remote, keep it off the ground to prevent accidental operation.
-
Always leave a moderate tension on the final wraps for next use.
Advanced Tips for Power and Safety
-
Winch Capacity Drops With Each Layer: Maximum pulling power is available only on the first wrap. As layers stack, effective pull decreases (e.g., a winch rated for 12,000 lbs delivers less than 10,000 lbs on the third layer). Plan your recoveries accordingly.
-
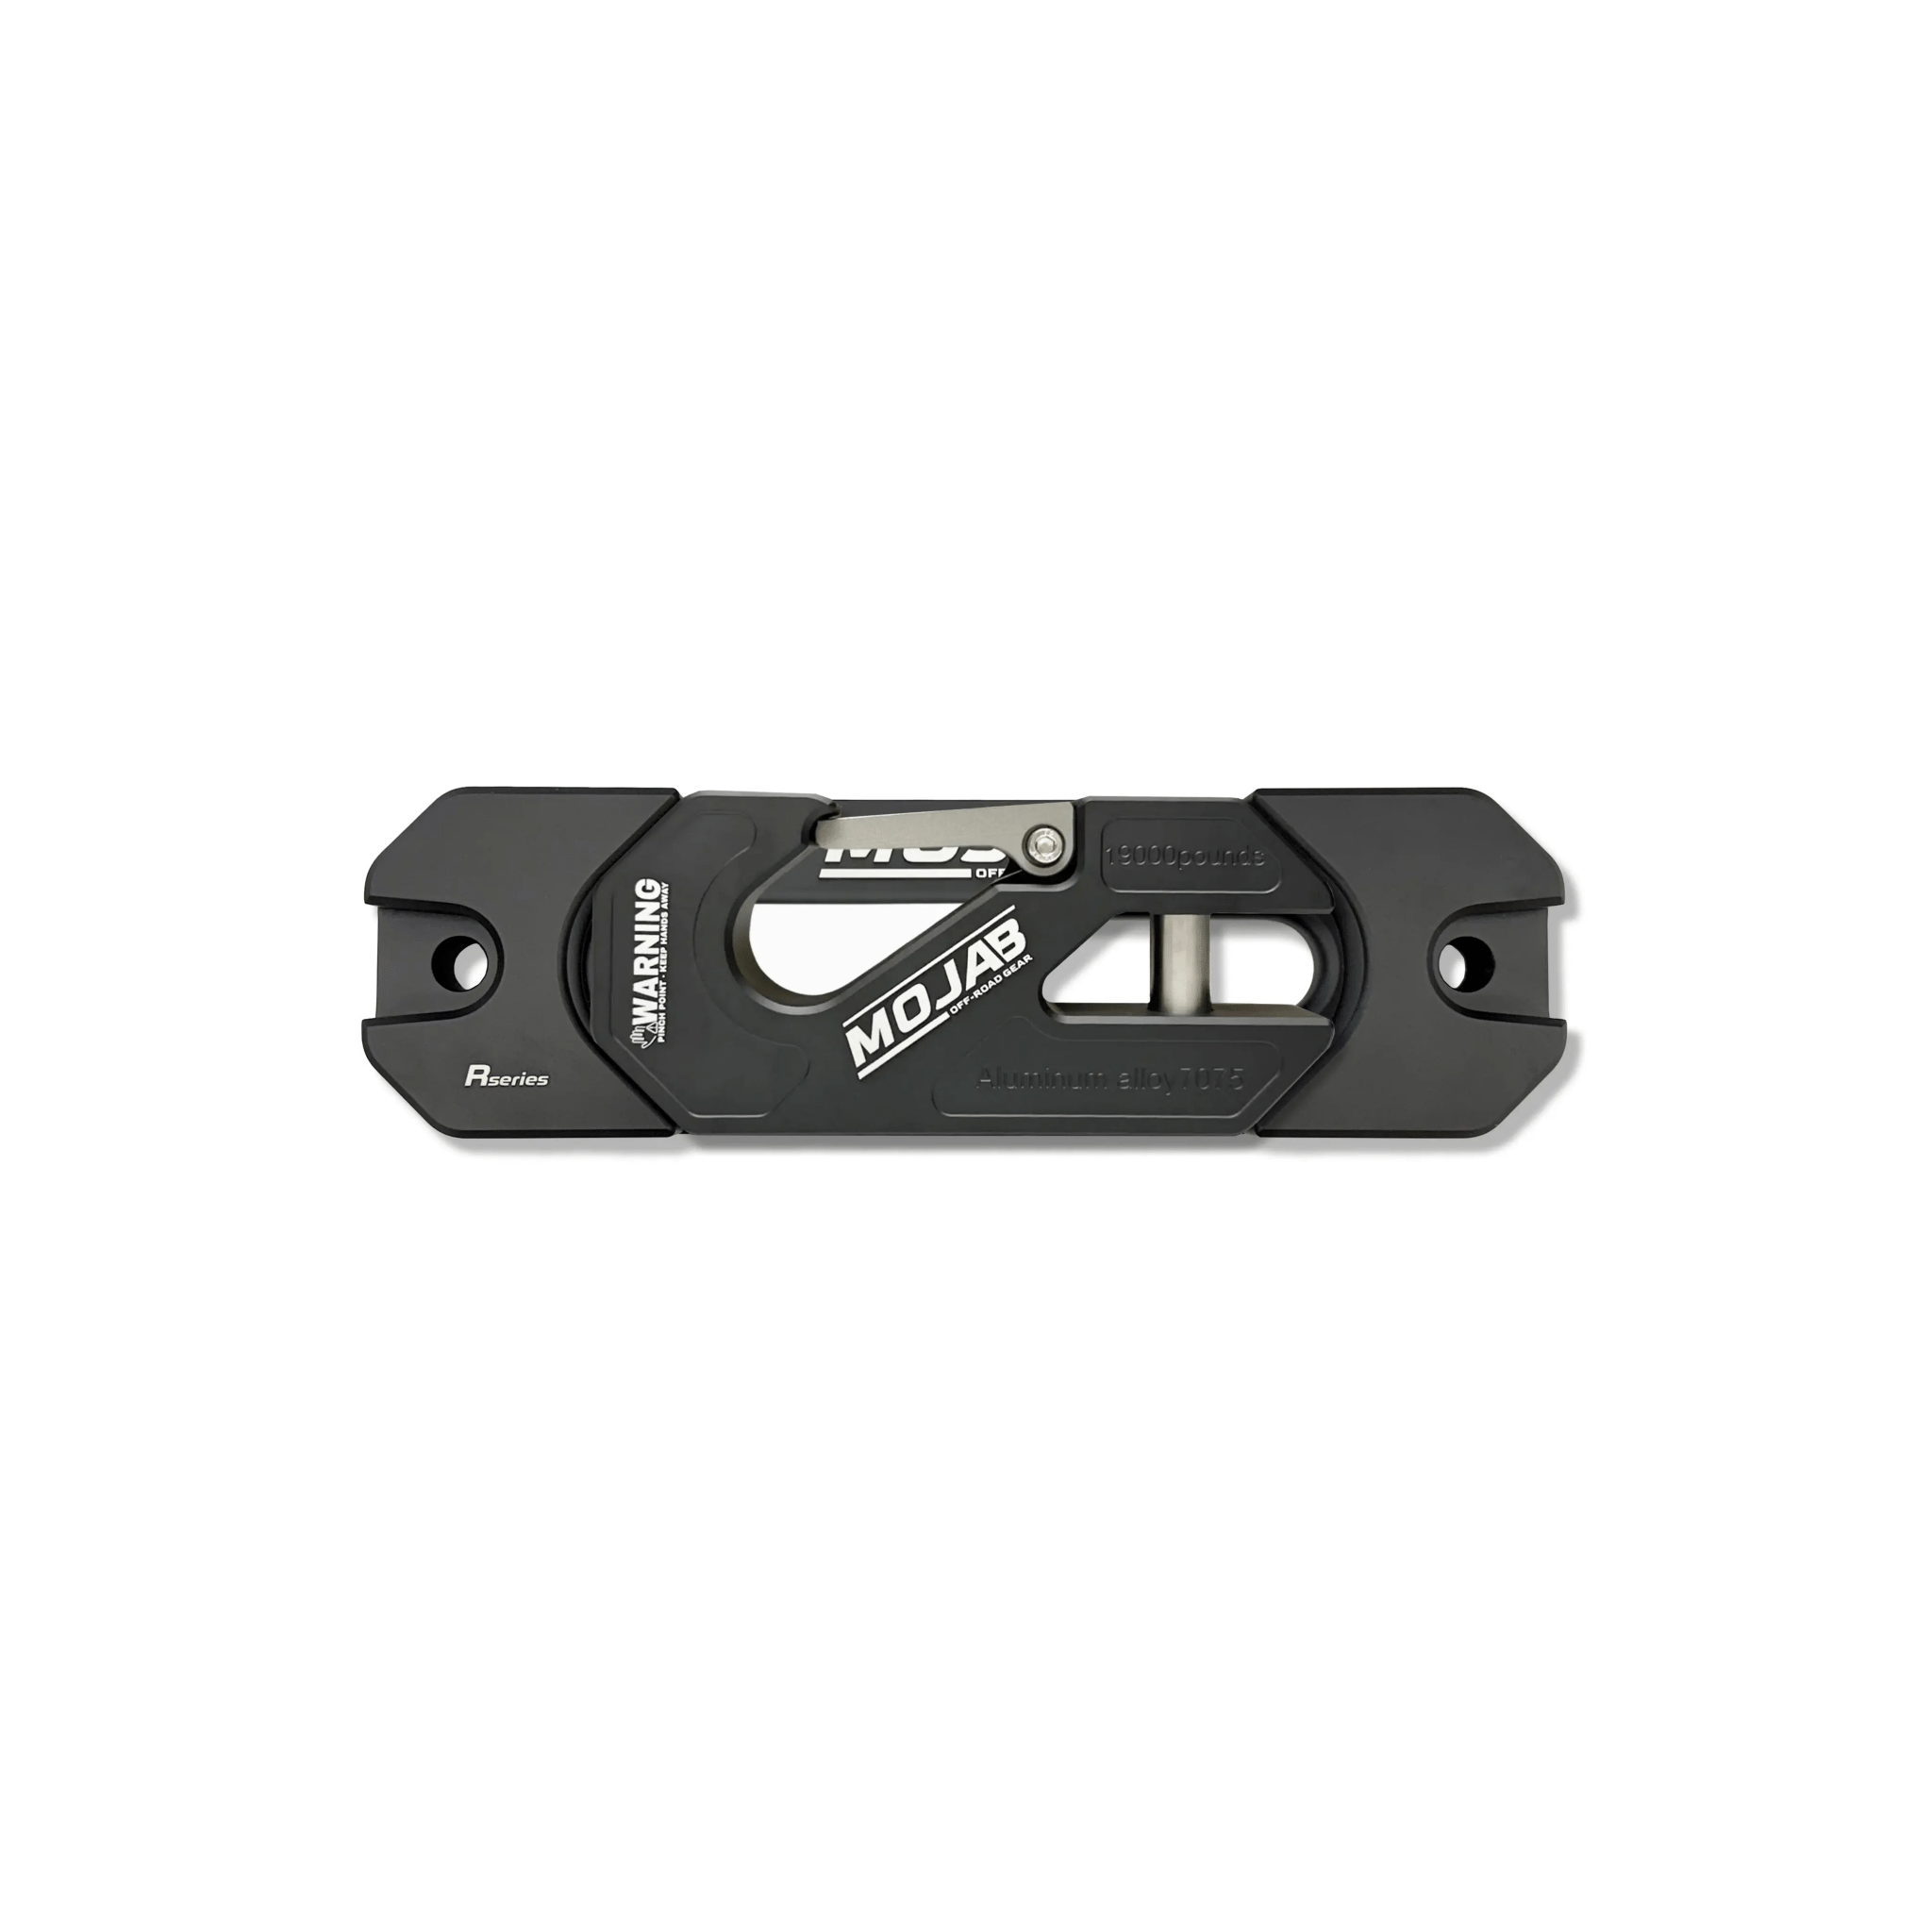
Double-Line Pull: For heavy vans or deeply bogged rigs, use a pulley (snatch block) to double your pulling power and reduce winch strain.
-
Regular Inspections: Before and after every trip, inspect your synthetic winch line for UV damage, abrasion, or contamination—replace if there’s any doubt.
Why Trust Owl With Your Recovery Gear?
At Owl we don’t just sell winch upgrades—we install, test, and rely on them in the field. Our selection of premium winches, synthetic ropes, UV covers, and trail-proven recovery kits ensure your Sprinter or Grenadier is adventure-ready and reliable when it counts.
Off-roading rewards precision and preparation. Spend the extra 20 minutes to spool your winch line properly, and you’re investing in the safety, reliability, and capability of your adventure rig for years to come.